How to Mount a Projector: A Step-by-Step Guide for Optimal Setup?
Struggling to get the perfect projection setup? Mounting a projector can be tricky, but I’m here to help you avoid mistakes and achieve great results.
To mount a projector, understand your space, choose the right location, and follow a clear setup process. This guide will walk you through each step for the best image quality.
 Projector Mounting Guide
Keep reading to learn how to set up your projector, choose the best distance, decide between ceiling and wall mounts, and get pro tips for a clean installation.
How to Set Up a Projector: A Step-by-Step Guide for Beginners?
Setting up a projector can feel overwhelming, especially for beginners. I remember my first time—it was confusing, but I’ve learned a simple approach to make it easy.
To set up a projector, unbox it, connect it to power and your device, adjust the image size, and fine-tune the focus. This ensures clear, crisp images.
 Projector Setup
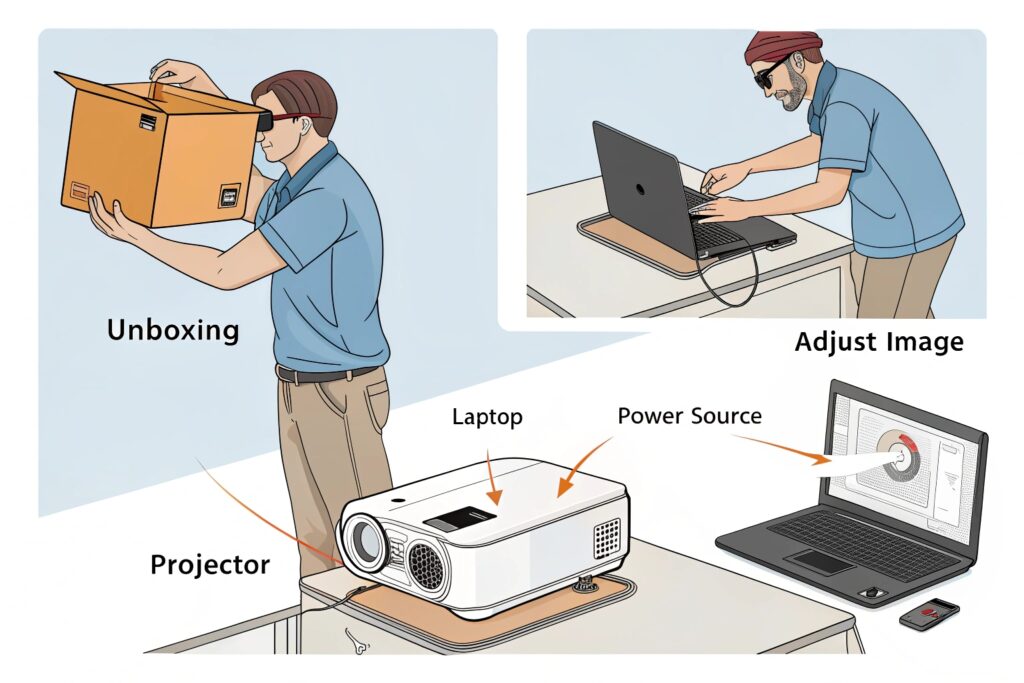
Unboxing and Initial Setup
When you get your projector, check the box for all items, like the power cord, remote, and mounting hardware. Place the projector on a stable surface or mount it if you’re ready. Connect it to a power source and your input device, like a laptop or Blu-ray player. I always double-check connections to avoid issues later.
Connecting and Adjusting
Turn on the projector and select the correct input source. Adjust the image size by moving the projector closer or farther from the screen. Use the focus ring to sharpen the image. If the image is tilted, adjust the keystone settings to square it up. I learned that taking time here saves frustration during use. This setup process is simple, but each step matters for great results. Now, let’s talk about how far back you should mount your projector for the best image quality.
How Far Back Should You Mount Your Projector for the Best Image Quality?
Getting the right distance between your projector and the screen is important. I’ve seen setups where the image was too small or blurry because the distance wasn’t right.
For the best image quality, mount your projector at a distance that matches its throw ratio1, usually 1.5 to 2 times the screen width. This ensures a sharp, well-sized image.
 Projector Distance
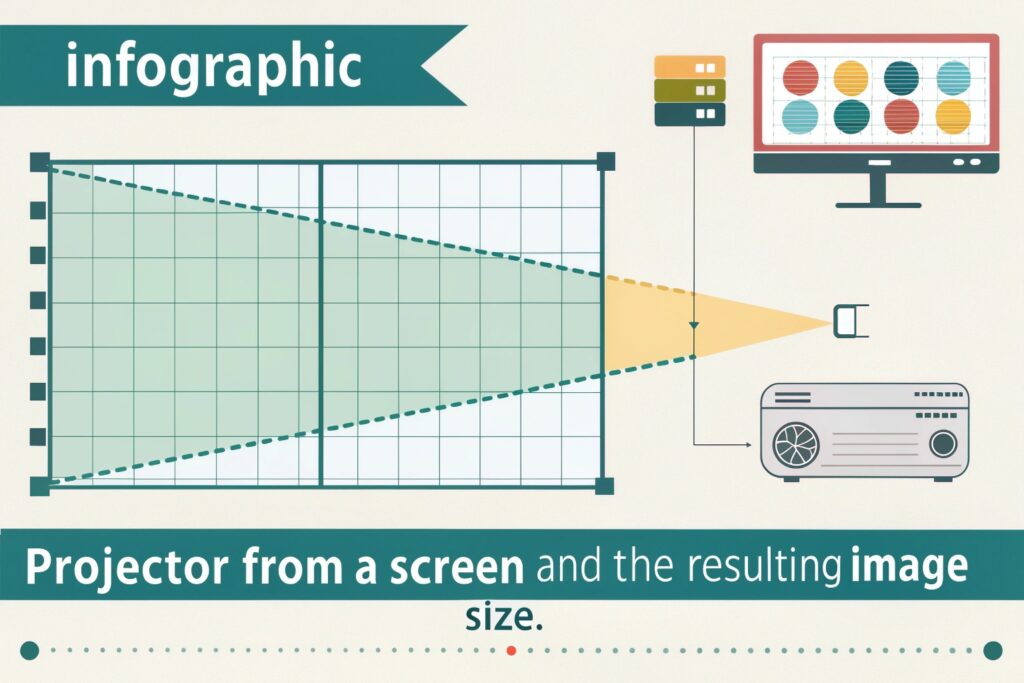
Understanding Throw Ratio
The throw ratio1 is the distance from the projector to the screen divided by the width of the screen. For example, if your projector has a throw ratio1 of 1.5 and you want a 100-inch wide screen, place the projector 150 inches away. I always check the manual for the throw ratio1. Short-throw projectors can be placed closer, while long-throw ones need more distance.
Calculating the Ideal Distance
To find the ideal distance, multiply your screen width by the throw ratio1. For a short-throw projector, adjust closer. For a long-throw, move farther. I use this table to help:
| Screen Width (inches) | Throw Ratio | Distance (inches) |
|---|---|---|
| 80 | 1.5 | 120 |
| 100 | 1.5 | 150 |
| 120 | 2.0 | 240 |
This table helps you find the right distance for common screen sizes. The distance affects image size, brightness, and clarity. I’ve found that measuring twice before mounting saves time and ensures a better setup. Now, let’s explore whether you should mount your projector on the ceiling or the wall.
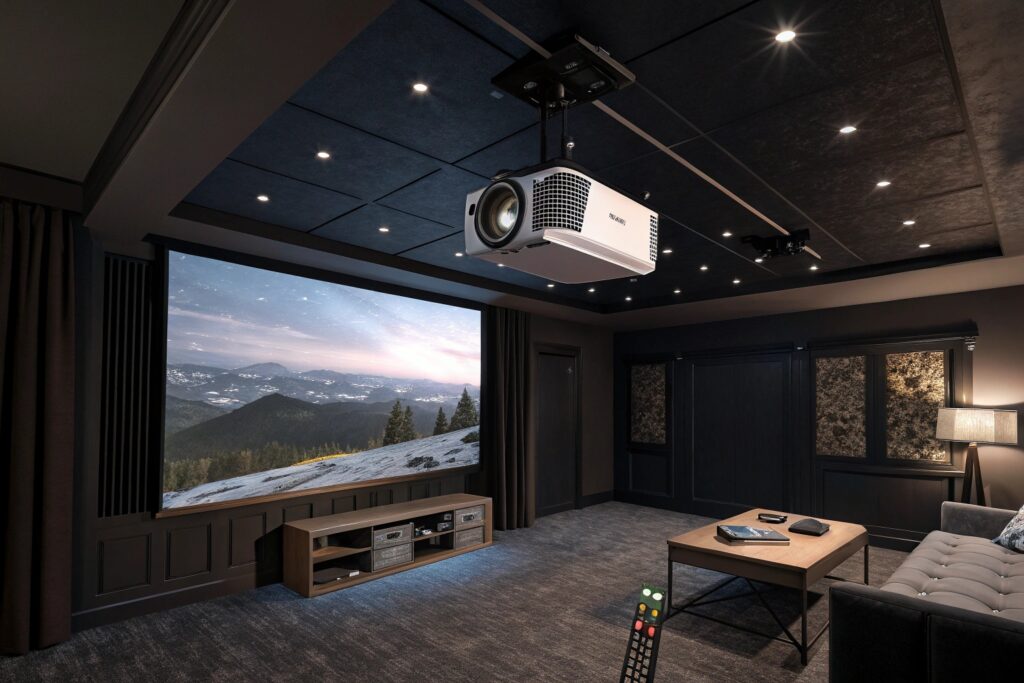
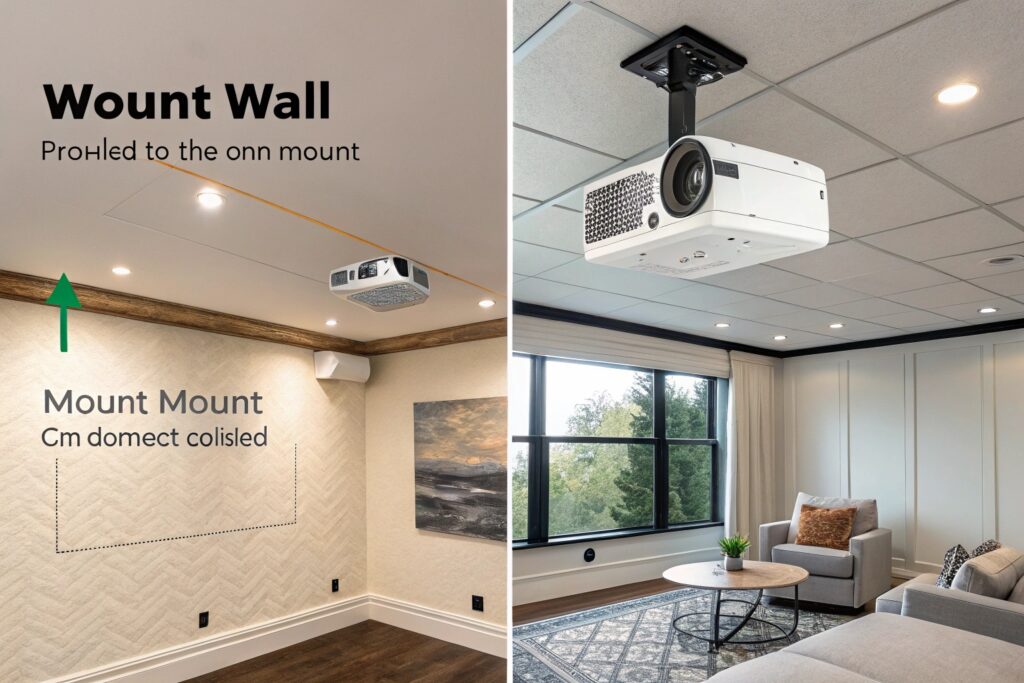
Ceiling vs. Wall: Where Should You Mount Your Projector for Optimal Performance?
Choosing between a ceiling or wall mount can be confusing. I’ve tried both, and each has its pros and cons, depending on your space and needs.
For optimal performance, ceiling mounts2 are better as they save space and provide a stable image. Wall mounts can be easier to install in some setups.
 Ceiling vs Wall Mount
Ceiling Mounts: Pros and Cons
Ceiling mounts are great for rooms with limited floor space. They keep the projector out of the way and reduce the risk of it being knocked over. I’ve used ceiling mounts2 in home theaters, and they work well. However, installation can be harder. You need to drill into the ceiling and ensure the mount supports the projector’s weight. I always check the weight limit before buying a mount.
Wall Mounts: Pros and Cons
Wall mounts are simpler to install. They’re a good choice if your ceiling is too high or not suitable for mounting. I’ve used wall mounts in small offices, and they work fine. However, they might take up wall space. They can also be less stable if not fastened securely. I learned to use a stud finder to find secure points. Consider your room’s layout and needs when choosing. For most home theaters, I prefer ceiling mounts2. In small offices, wall mounts might work better. Next, let’s dive into pro tips for mounting your projector.
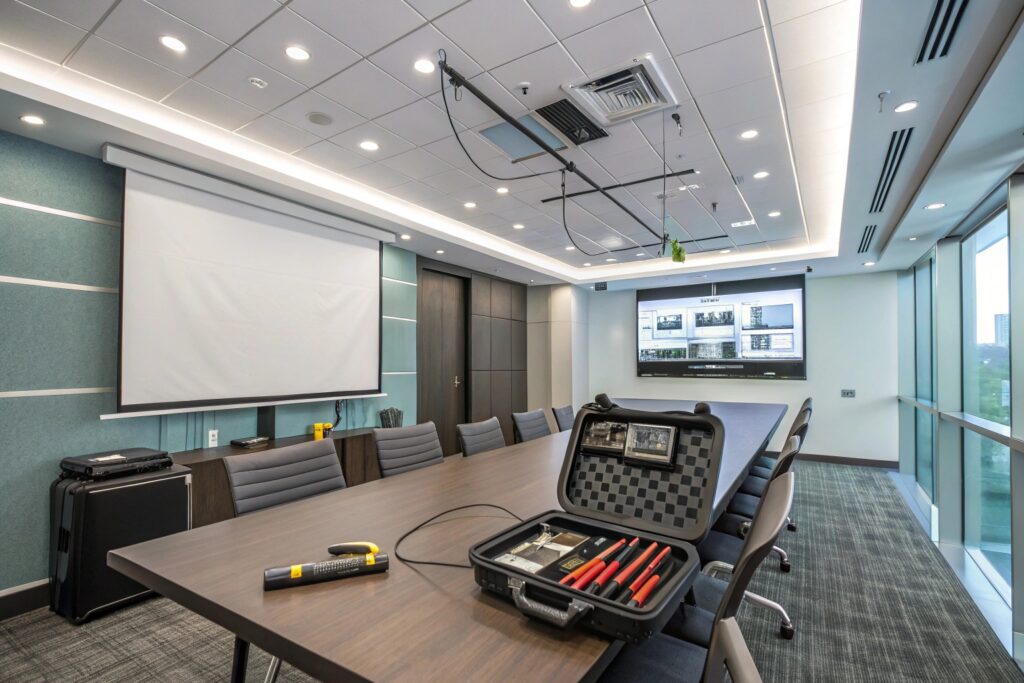
How to Mount a Projector Like a Pro: Tips and Tricks?
Mounting a projector isn’t just about screwing it into place. I’ve learned tricks over time to make my setups look clean and professional.
To mount a projector like a pro, focus on cable management3, precise alignment, and using the right tools. These tips help you achieve a functional and neat setup.
 Professional Projector Mounting
Cable Management
Hide cables to keep your setup looking neat. I use cable ties, conduits, or run cables through the wall if possible. This improves the look and prevents tripping hazards. I once tripped over loose cables, so now I always secure them. It’s a small step, but it makes a big difference.
Precise Alignment
Ensure your projector is perfectly aligned with the screen. I use a level to check that it’s straight. Adjust the mount if needed. A misaligned projector can lead to a distorted image, even if the distance is correct. I’ve had to redo setups because I skipped this step. Now, I always double-check alignment.
Using the Right Tools
Invest in a quality mount that suits your projector and space. Check the weight capacity and compatibility before buying. I learned this the hard way when a cheap mount failed. Use a stud finder to locate secure points in your ceiling or wall. These tools make installation safer and more reliable. These tips might seem small, but they improve the final result. With these in mind, you’re ready to mount your projector with confidence.
Conclusion
Mounting a projector correctly enhances your viewing experience. Follow these steps and tips for a professional setup that delivers great performance.
-
Understanding throw ratio is crucial for achieving optimal image quality. Explore this link to learn more about projector throw ratios and their impact. ↩ ↩ ↩ ↩ ↩
-
Ceiling mounts can save space and provide stability. Learn more about their benefits and how to choose the right one for your setup. ↩ ↩ ↩
-
Effective cable management enhances the aesthetics and safety of your setup. Discover best practices to keep your installation tidy and professional. ↩