What is the best way to position a projector?

Do you struggle with achieving the perfect setup for your projector? It’s a common challenge, but one that can be easily resolved with the right techniques. The way you position your projector directly affects image quality, viewing comfort, and overall experience.
The best way to position a projector is to align it with the screen center and adjust its height and distance for optimal image quality.
Let’s explore the details to ensure your projector setup is both functional and professional.
[Table of contents]
- How do you position your projector?
- Where can I mount my projector?
- How do you arrange a projector?
- What is the best angle for a projector?
- Conclusion
How do you position your projector?

The projector's position determines whether your image is sharp, aligned, and enjoyable to watch. Correct positioning can eliminate the hassle of repeated adjustments.
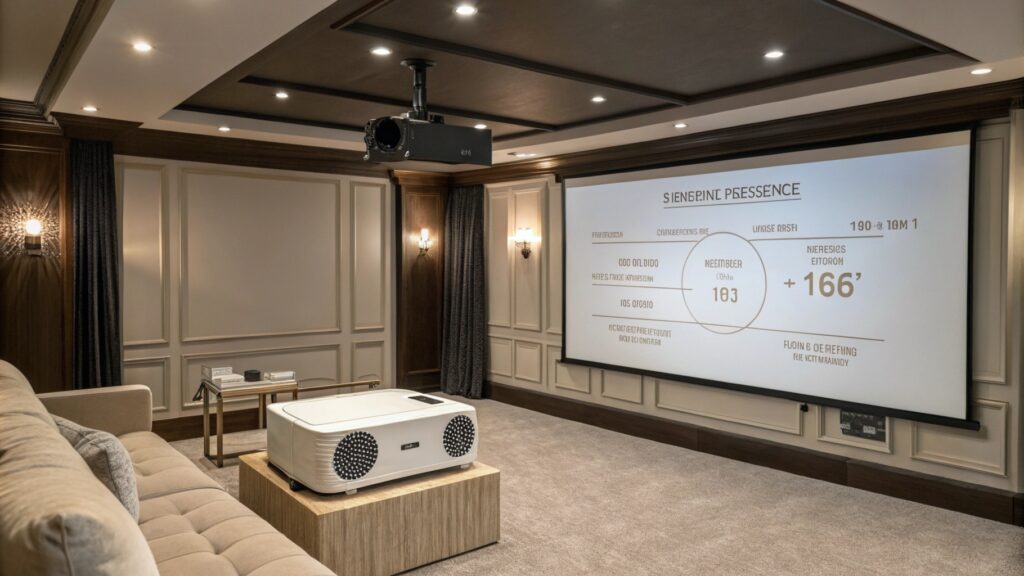
Position your projector by aligning its lens to the center of your screen, keeping it level, and placing it at the right throw distance based on the projector specifications.
Dive Deeper: Key Considerations
Throw Distance1
Refer to your projector’s manual to determine the appropriate distance from the screen. Most projectors provide a range, such as 1.5x the screen width.
Lens Shift2 or Keystone Correction3
If your projector is slightly off-center, use lens shift features to adjust the image. Avoid over-reliance on keystone correction as it can degrade image quality.
Environment Factors
Position your projector in a space with low ambient light and ensure proper ventilation around the unit.
Where can I mount my projector?
Mounting a projector securely is essential to ensure safety, stability, and the best possible viewing experience.
You can mount your projector on the ceiling, a wall mount, or place it on a flat surface like a table, depending on your room layout.

Dive Deeper: Mounting Options4
Ceiling Mount
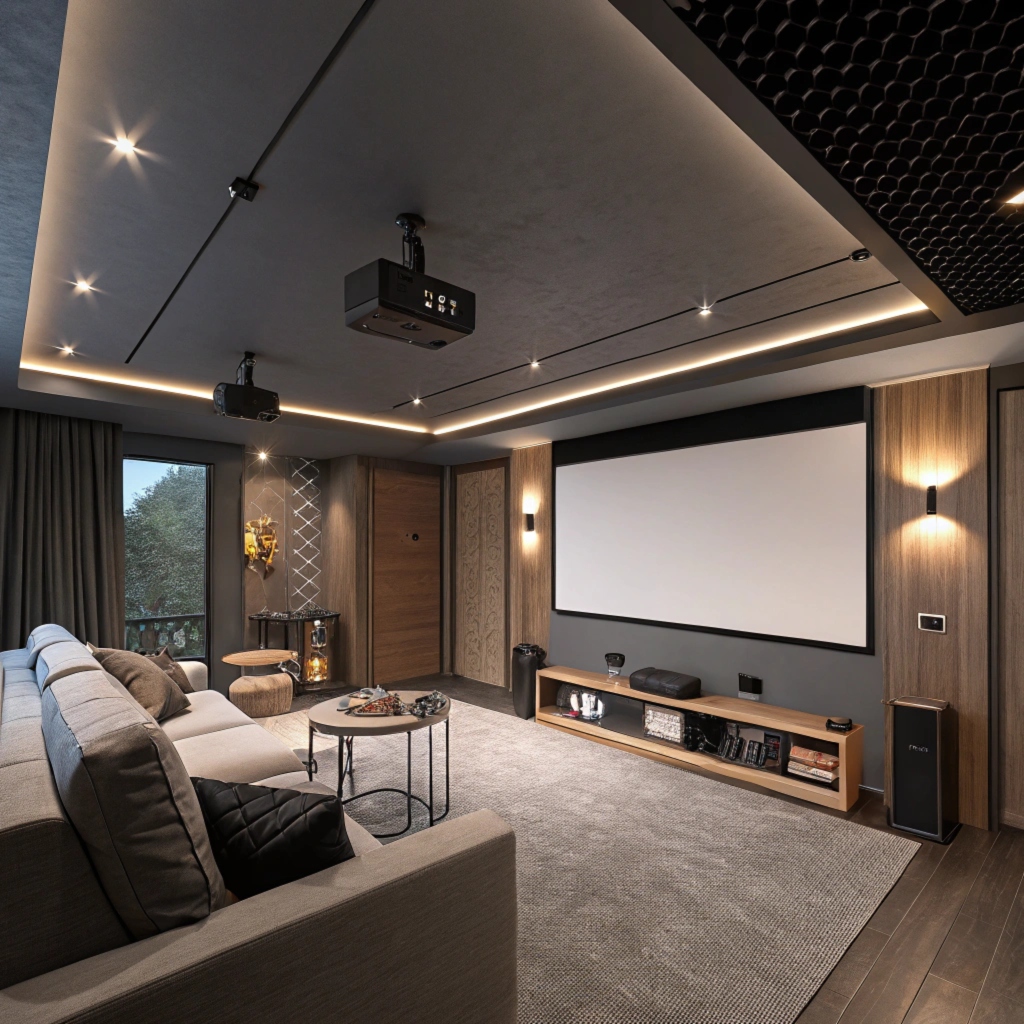
This is ideal for permanent setups in home theaters or offices. Ceiling mounting keeps the projector out of the way and aligned with the screen. Use adjustable mounts for precise angling.
Wall Mount
A wall-mounted projector offers a similar setup to ceiling mounting but works well for shorter-throw projectors. Ensure the mount supports your projector’s weight.
Table Placement
For portable setups, placing your projector on a stable table works best. Use adjustable feet or a tripod for fine-tuning the angle and height.
| Mounting Type | Best For | Advantages | Challenges |
|---|---|---|---|
| Ceiling Mount | Permanent setups | Space-saving, consistent alignment | Requires installation effort |
| Wall Mount | Short-throw projectors | Easy adjustment, flexible placement | Limited adjustability |
| Table Placement | Temporary or portable use | Simple, no installation required | Can block pathways |
How do you arrange a projector?
The arrangement involves more than just placement. It’s about ensuring alignment, connectivity, and image adjustments for an ideal setup.
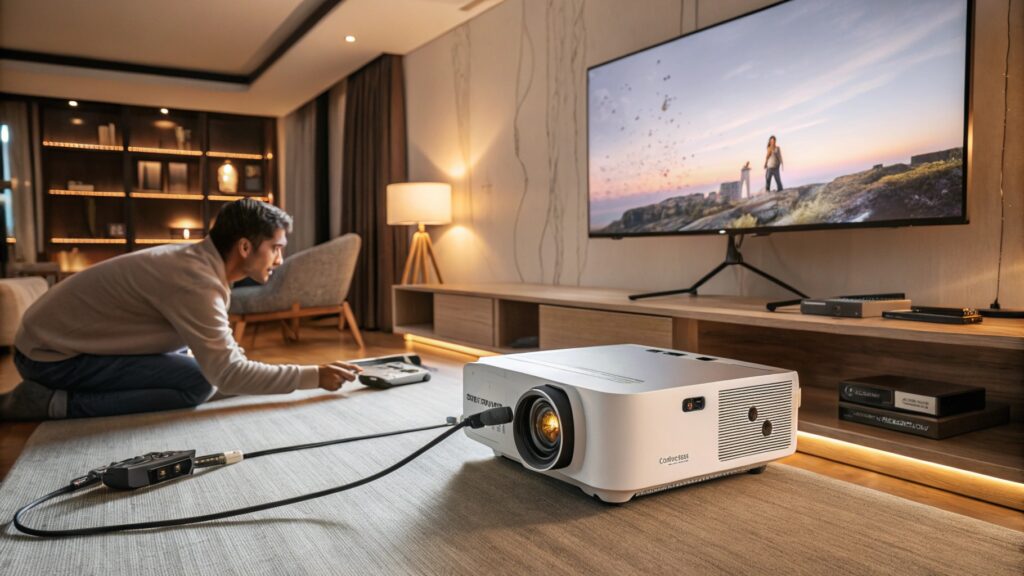
Arrange your projector by connecting necessary cables, aligning the lens with the screen, and adjusting the settings for focus and brightness.
Dive Deeper: Steps to Arrange a Projector
Align the Lens
Center the lens with the middle of your screen to prevent distortion. Use a level tool for precision.
Connect Cables
Organize your HDMI, power, and audio cables to avoid clutter. Consider cable management5 solutions like sleeves or clips.
Adjust the Picture
Use your projector’s focus and zoom features to fine-tune the image size and sharpness. Calibrate brightness and contrast to suit the room’s lighting.
What is the best angle for a projector?6

The angle of your projector affects whether the image is clear and properly aligned with the screen.
The best angle for a projector is one where the lens is level with the center of the screen, avoiding excessive tilting.
Dive Deeper: Understanding Angles
Horizontal Alignment
Keep the projector straight to minimize keystone distortion. Small adjustments can make a big difference.
Vertical Placement
If you need to tilt the projector upward or downward, use lens shift features to maintain image quality without distortion.
Viewing Comfort
Position the projector so that the audience doesn’t strain their necks or eyes. This is especially important for larger setups.
Conclusion
A well-positioned projector ensures the best viewing experience, free from image distortion or discomfort. Take the time to align it properly and choose a suitable mounting option for your needs.
-
Throw distance is the range between the projector and the screen, affecting the image size and clarity. This is crucial for proper alignment. ↩
-
Lens shift is a feature in projectors that allows for horizontal or vertical adjustments without compromising image quality, providing flexibility. ↩
-
Keystone correction compensates for projection angles that cause trapezoidal distortion. However, excessive use can reduce image quality. ↩
-
Knowing different mounting options ensures you choose the best one for your room size and projector type. This helps avoid installation errors. ↩
-
Cable management ensures a clean setup and avoids accidental disconnections, improving both aesthetics and functionality. ↩
-
Ensuring the projector is properly angled improves the viewing experience by eliminating distortions and reducing strain on the eyes. ↩

