How to Set Up a Projector - A Complete Guide?
Struggling to get your projector working? I’ve been there—fuzzy images and tangled cables can ruin any presentation. Let’s fix that together.
Here’s the deal: Setting up a projector is simple with the right steps. I’ll guide you through choosing the spot, mounting it, and tweaking the picture—perfect for beginners or pros.
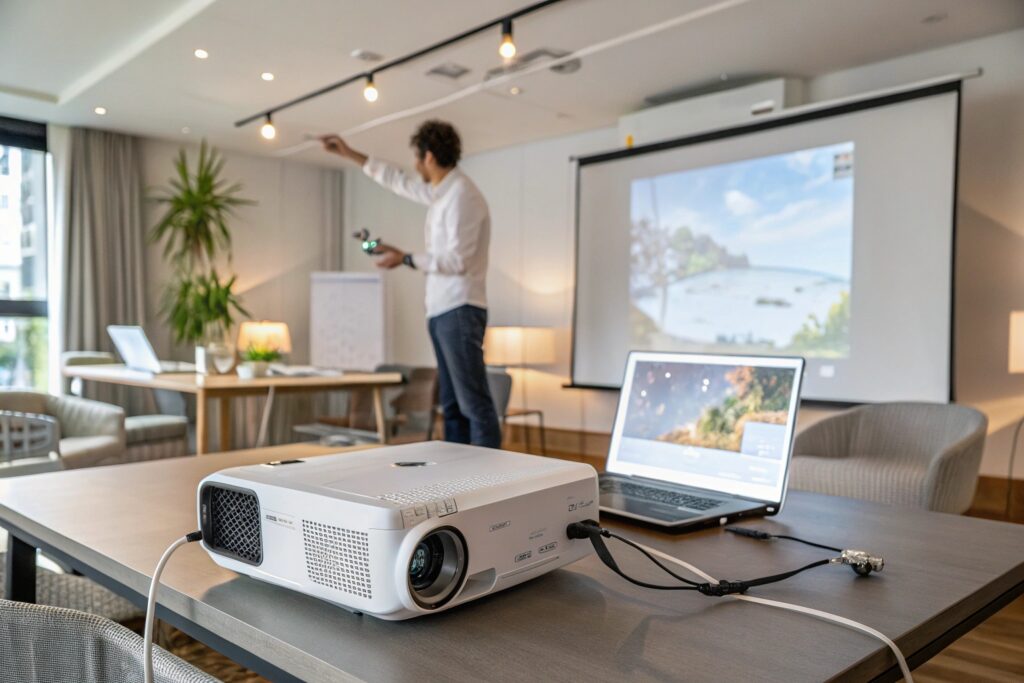
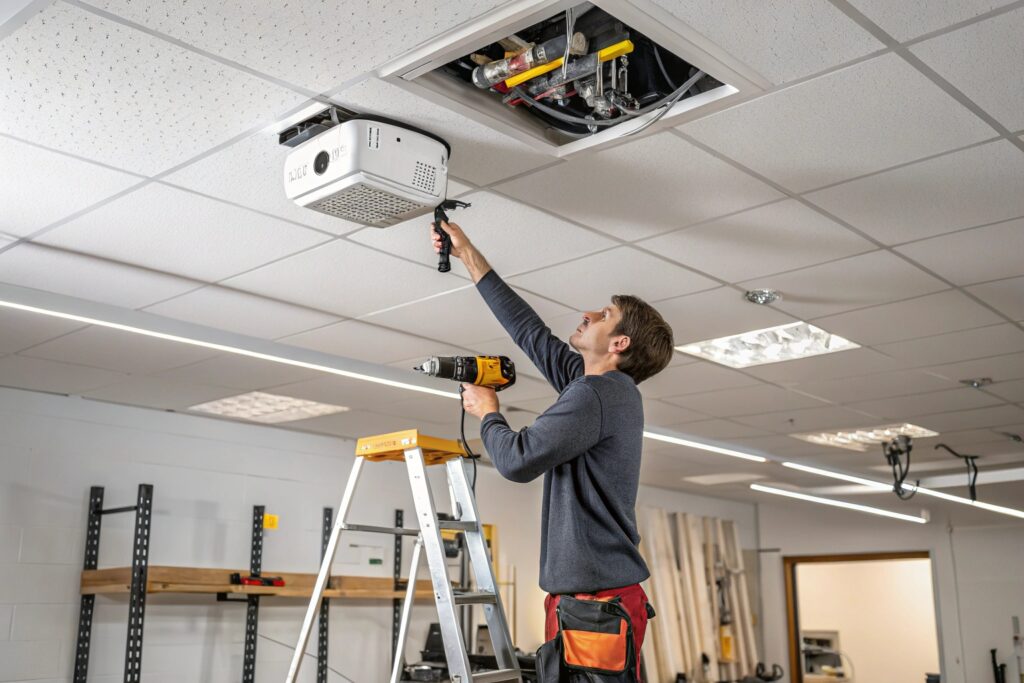
Easy Projector Installation
I’ve spent years at Smartavtek helping businesses like yours in Brazil and beyond. Stick with me—I’ll share practical tips to make your setup shine.
How to Set Up a Projector: A Step-by-Step Guide for Beginners?
New to projectors? I remember my first setup—overwhelming at first, but I cracked it. You can too with a clear plan.
Start here: Pick a spot, connect your device, adjust the focus, and test the image. Follow these five steps: place it, plug it in, align it, tweak it, and enjoy.
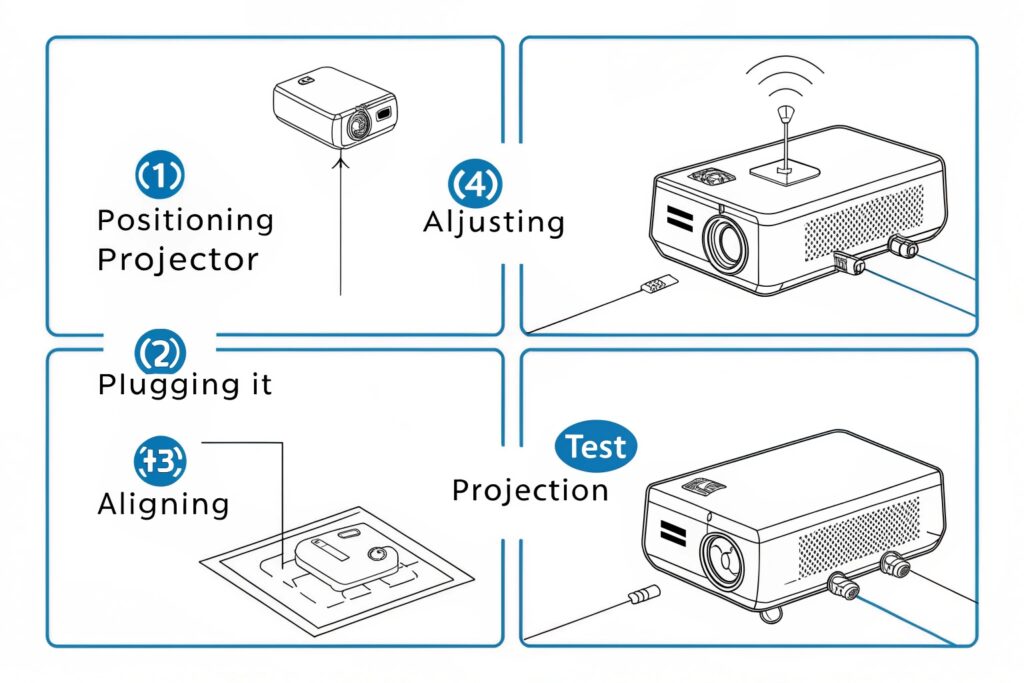 Beginner Projector Guide
Let’s Break It Down
I’ve helped tons of customers at Smartavtek get this right. Here’s how to do it step-by-step.
Step 1: Find the Right Spot
Place your projector on a steady surface or mount it. I once used a wobbly table—disaster. Keep it stable.
Step 2: Connect Your Device
Plug in your HDMI or VGA cable. Test it early. I’ve seen clients skip this and panic later.
Step 3: Align the Screen
Adjust the angle. Use the keystone correction if it’s off. My first screen was crooked—took me ages to fix.
Step 4: Focus the Image
Twist the focus ring until it’s sharp. I do this every time—blurry images kill presentations.
Step 5: Test and Tweak
Play something. Adjust brightness and sound. I always double-check—saves headaches.
| Step | Action | Why It Matters |
|---|---|---|
| Spot | Stable surface | Avoids shaky images |
| Connect | HDMI/VGA | Links your device |
| Align | Keystone correction | Fixes weird angles |
| Focus | Twist the ring | Sharpens the picture |
| Test | Brightness/sound tweaks | Ensures everything works |
This method works for our projector stands and ceiling mounts. It’s foolproof—I use it myself.
How Far Back Should You Mount Your Projector for the Best Image Quality?
Confused about distance? I was too—set it too close, and the image shrinks; too far, and it blurs.
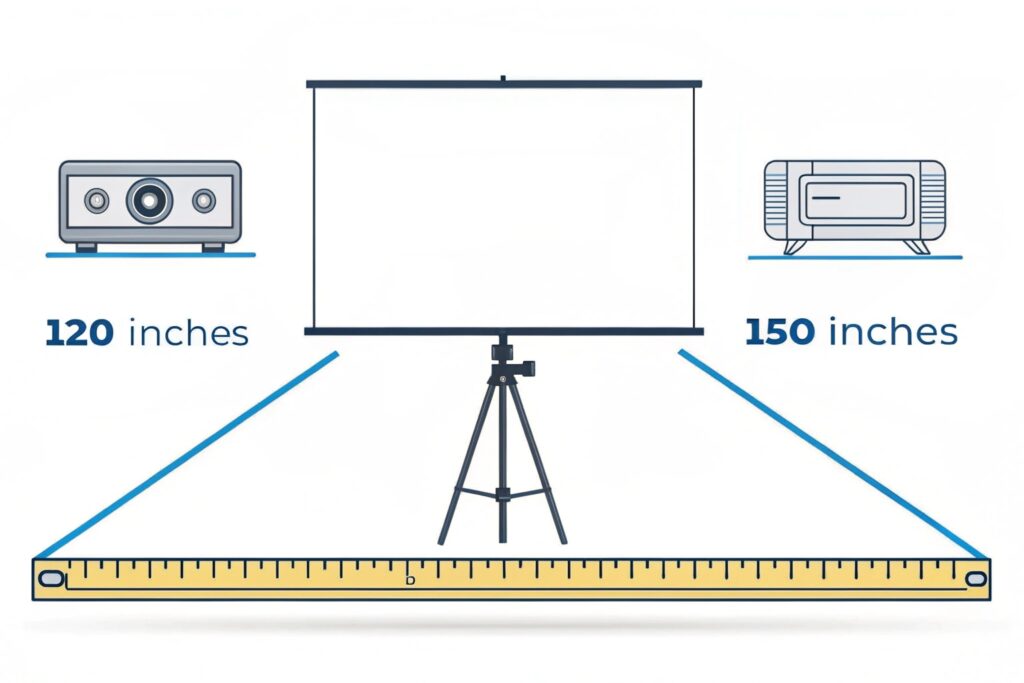
Here’s the trick: Check your projector’s throw ratio. Multiply it by your screen width. For a 100-inch screen and a 1.5 ratio, mount it 150 inches back.
 Best Image Quality Tips
Digging Into the Details
I’ve worked with engineers and wholesalers on this. Let’s make it clear.
What’s Throw Ratio?
It’s how far your projector needs to be per inch of screen size. Mine’s 1.2—I love the flexibility.
Measuring Your Space
Grab a tape measure. I once guessed the distance—ended up with a tiny picture. Measure twice.
Room Size Matters
Small office? Go short-throw. Big hall? Long-throw works. I’ve sold both at Smartavtek—depends on your setup.
Screen Size Goals
Want 120 inches? Adjust accordingly. I’ve seen clients nail this and impress their teams.
| Screen Size | Throw Ratio | Distance (Inches) |
|---|---|---|
| 80 inches | 1.5 | 120 |
| 100 inches | 1.5 | 150 |
| 120 inches | 1.2 | 144 |
Test it out. I always tweak until the image pops—makes all the difference.
Ceiling vs. Wall: Where Should You Mount Your Projector for Optimal Performance?
Ceiling or wall? I’ve debated this with clients plenty—both work, but one’s usually better for you.
Ceiling wins for space and alignment. Wall’s great for quick setups. Pick based on your room and needs—ceiling’s my go-to.
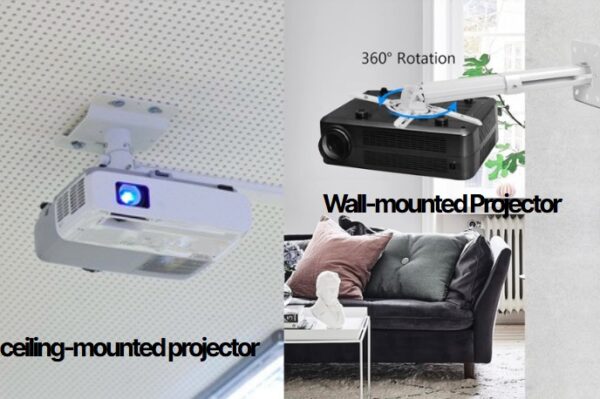
Mounting Options Compared
Breaking It Down
I’ve installed both at Smartavtek. Here’s what I’ve learned.
Ceiling Mount Pros
Saves floor space. Keeps it steady. I’ve used our ceiling brackets—clients love the clean look.
Ceiling Mount Cons
Harder to install. Needs a ladder. I scratched my ceiling once—lesson learned.
Wall Mount Pros
Easy to set up. Adjustable height. I’ve done this for small rooms—super fast.
Wall Mount Cons
Blocks space. Can wobble. I’ve seen cheaper brackets fail—stick to quality.
| Option | Best For | Challenge |
|---|---|---|
| Ceiling | Big rooms, permanence | Installation effort |
| Wall | Small spaces, speed | Stability risks |
I lean toward ceiling mounts for presentations. Try both—see what fits your style.
How to Mount a Projector Like a Pro: Tips and Tricks?
Mounting intimidates people. I felt that too—until I learned a few shortcuts that work every time.
Use a stud finder, level, and our Smartavtek brackets. Secure it, align it, hide cables—looks slick and works great.
 Mount Like a Pro
Going Deeper
I’ve mounted dozens for clients. Here’s my pro advice.
Tools You Need
Stud finder, drill, screwdriver. I keep these handy—saves time and frustration.
Finding the Spot
Mark your ceiling or wall. I missed a stud once—bracket crashed. Double-check.
Secure It Tight
Our mounts hold firm. I’ve tested them with heavy projectors—no issues.
Cable Management
Tape or clips work. I hate messy wires—clients notice the polish.
Final Adjustments
Tilt and test. I tweaking until it’s perfect—small moves matter.
| Tip | Tool Needed | Why It Helps |
|---|---|---|
| Stud finder | Stud finder | Hits the strong spot |
| Level | Level tool | Keeps it straight |
| Cable clips | Clips/tape | Hides the mess |
Pros make it look easy. I’ve gotten there with practice—our products help a ton.
Conclusion
Setting up a projector is simple with my guide. Pick your spot, mount it right, tweak it—done. Ready to shine?
About My Business
I’m Lily Chen from Smartavtek. Email me at [email protected] or visit www.smartavtek.com. We’re in China, supplying projector mounts and AV solutions to wholesalers like you in Brazil.